Spielwelt German Parents Association is a not for profit organisation running children’s programs in German in Canberra ![]()
Maus Tag – Mouse Day
By special request from one of our children, here are some mouse themed activities and a mouse story for you!
Mouse Story:
Here’s Opa Chris reading the German classic, Frederick die Maus.
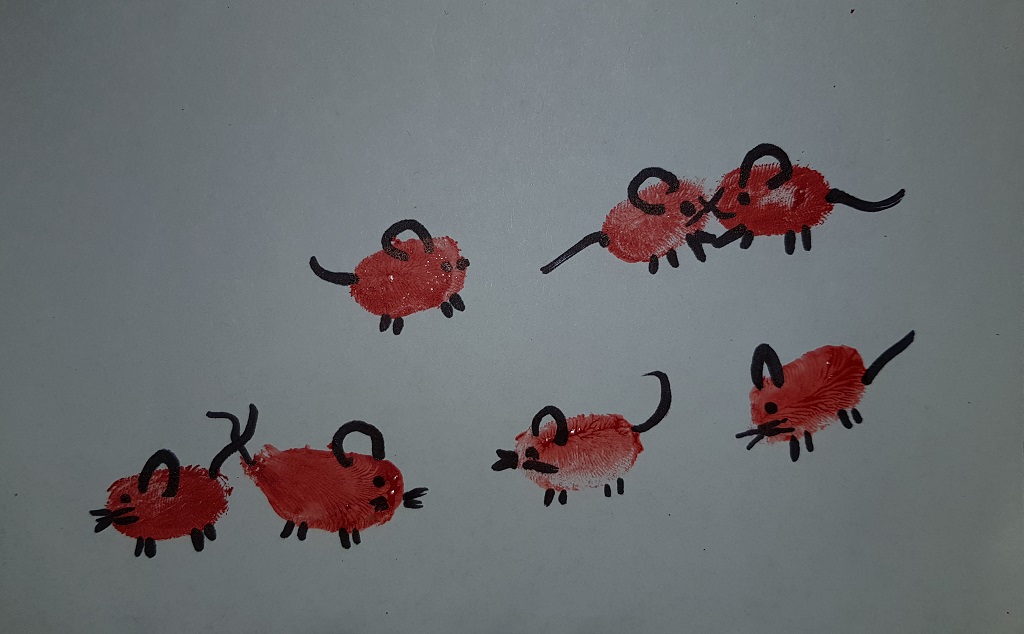
Mice Fingerprint Pictures:
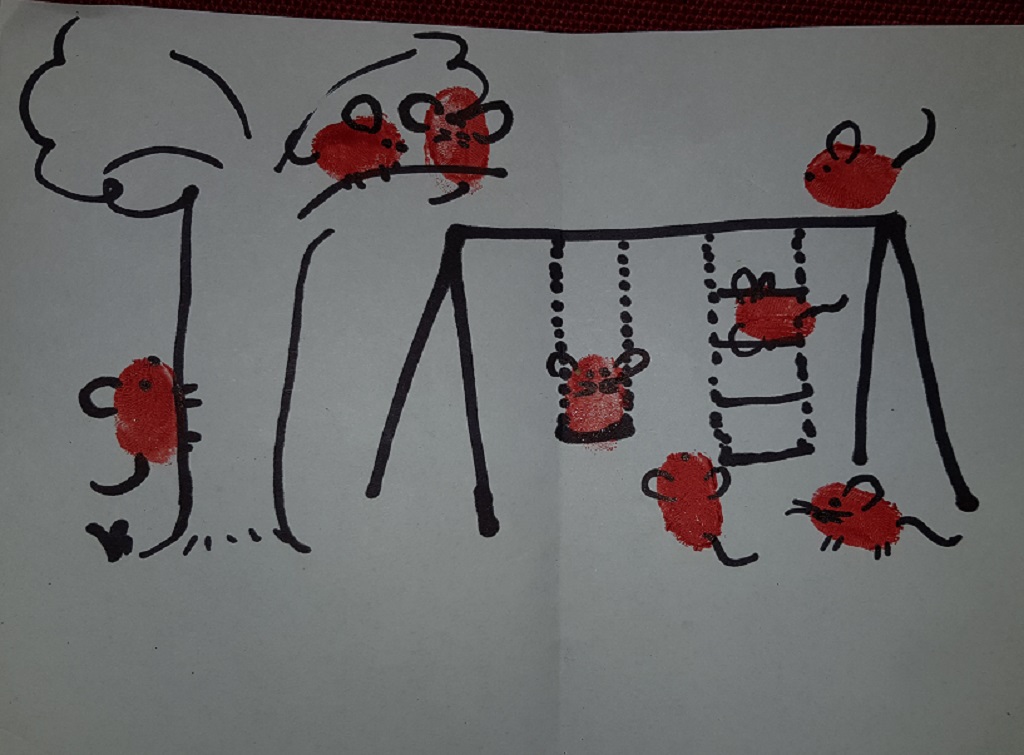
If you have paint or an ink stamp pad at home, you can decorate a piece of paper with loads of fingerprints. Once the fingerprints dry, use a black marker to add eyes, ears, tails and legs to make your fingerprints into mice.
If you are feeling really creative, you can create an artistic scene with your mice. Maybe start by drawing a venue of your choice (the local playground), or a bus or train, or Telstra tower, or Oma’s house, or your bedroom…. then let your child fill in the fingerprints, and help them to add the ears and tails to turn their fingerprints into mice.
Edible Marzipan Mice:
Make mice from delicious home-made German Marzipan. Here is a little lesson about the cultural significance of marzipan and the recipe in English but better yet, follow the exact same lesson and recipe auf Deutsch. Children can definitely be involved in putting this simple three ingredient egg-free recipe together.
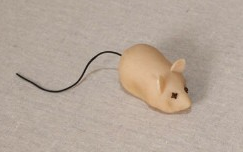
Once you’ve made your marzipan, take a ball about the size of a teaspoon of marzipan, and roll it into a pear shape. Poke a tiny bit of string or thread into the fat end as a tail, and stand two half almond slivers near the pointy end as ears. Add tiny currants or mini choc chips for eyes.
The recipe will make more mice than you need, but it keeps well in the fridge, so hang on to it for another GAP-at-home lesson coming up soon.
Mice Finger Puppets:
This craft will need parent involvement but creates a fun mouse finger puppet toy for your child to play with afterwards. Here is Wie man eine Papiermaus Fingerpuppe macht.
Stand-up Paper Mouse Craft:
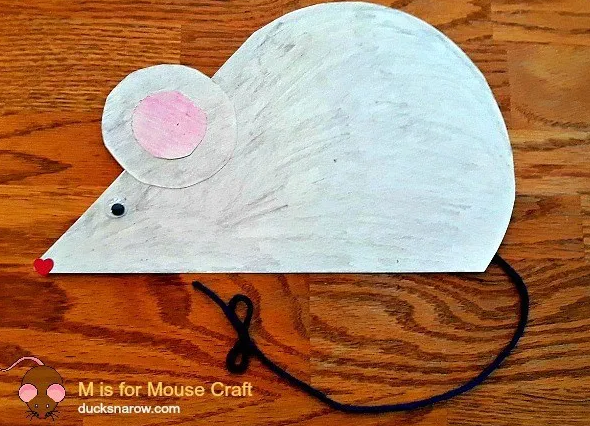
Fold a piece of paper in half. Cut out half a heart shape. Using the excess paper, cut out two identical circles for the ears.
Glue or tape the circle ears onto the paper heart around about where the ears should go (see picture of completed mouse).
Give your folded paper heart (with circle ears) to your child to colour in the eyes, ears and whatever else they want on their mouse.
When your child is finished colouring, open up your folded heart and glue or tape a piece of wool or string in for the tail, as in the diagram below. (If you think the diagram is rubbish, blame Lisa, as she drew it for you!)
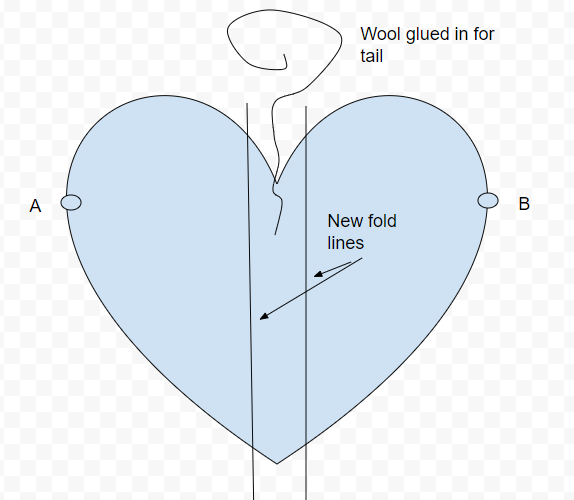
Ignore the original fold line in the middle, and create two new fold lines, as in the diagram. The space between the two new fold lines is going to become the base of your mouse, so that the mouse will stand up when propped up on the table.
Fold the two outer edges together and attach point A to point B with a tiny bit of tape or glue.
Stand your mouse up and admire! Repeat to make a village of mice to play with.
German vocabulary from today’s mouse lesson:
Mouse: die Maus
Mice: die Maeuse
Ears: die Ohren
Tail: der Schwanz
Circle: der / ein Kreis
Heart shape: das / ein Herz
Wool: die Wolle
String: die Schnur
Glue: der Klebe
Scissors: die Schere
Almonds: die Mandeln
Icing sugar: der Puderzucker
yummy: lecker!!!
For those looking to be super GAP-at-home educators: Make a mouse themed poster showcasing today’s vocabulary. You could use a few of today’s craft items and ideas. By using pictures, you won’t need the English text… just put the German words on and look awesome! Send us your pics for bonus points!